Why Use a Hardware Wallet for Crypto Storage?
Keeping digital assets safe requires more than just passwords or online exchanges. Hardware wallets like Ledger store private keys offline. This isolation prevents remote hackers from accessing your funds. Many users lose coins to phishing or exchange hacks every year. A hardware wallet reduces that risk dramatically. It also gives you full control over your crypto. No third party holds your keys. You decide when and where to send transactions.
Protection Against Online Threats
Online wallets and exchanges remain frequent targets for attackers. A computer infected with malware can steal seed phrases stored in software. Using a hardware device keeps the private key separate from your main computer. Even if your PC is compromised, the attacker cannot extract the keys. Ledger devices use a secure chip similar to passports. This chip resists physical tampering and remote attacks. The hardware wallet security features protect your assets at the chip level.
Control Over Private Keys
With a hardware wallet, you generate and store your own private keys. No exchange or custodian can freeze your account or block withdrawals. This self custody is essential for long term holding. You can verify transactions on the device screen before signing. That ensures no unauthorized transfers happen even if your computer is malicious.
What You Need Before Starting the Setup
Before you unbox the device, gather a few items. You need a computer with internet access. Ledger Live runs on Windows, macOS, and Linux. Mobile users can install the Ledger Live app from iOS or Android stores. Also prepare a pen and paper for the recovery phrase. Never type the seed into a computer or take a photo. The crypto seed phrase backup process requires physical offline storage.
Hardware Requirements
- Ledger Nano X or Nano S Plus device with USB or Bluetooth cable.
- USB port on your computer (USB-C for Nano X, Micro USB for S Plus).
- For Bluetooth mobile setup: iPhone 8 or newer, or Android with Bluetooth 4.2.
Software Requirements
- Latest version of Ledger Live from the official website or app store.
- Internet connection for downloading apps and updating firmware.
- Compatible browser for using Ledger with DeFi platforms (optional).
Downloading and Installing Ledger Live
Ledger Live is the main application that manages your device, installs coin apps, and lets you send and receive crypto. Download it only from ledger.com/live to avoid fake versions. Verify the file signature if you are a advanced user. Install the software and open it. The app will guide you through the initial steps.
For Desktop
Visit the official download page. Choose the installer for your operating system. Run the file and follow the on screen prompts. After installation, launch Ledger Live. Update the app to the newest version if prompted. This ensures compatibility with the latest device firmware.
For Mobile
Open the App Store or Google Play Store. Search for Ledger Live and install it. The mobile app supports Bluetooth connection with the Nano X. You can manage your portfolio and check balances on the go. For full transaction signing, you still need the physical device nearby. See the Ledger Live app guide for advanced features.
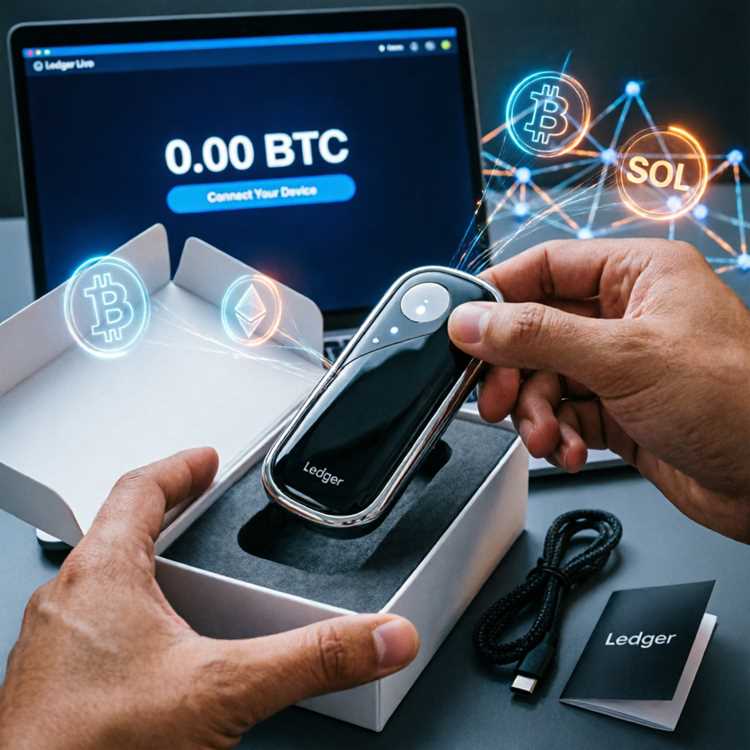
How to Set Up Ledger Nano: Connecting and Initializing
Now you are ready to set up the hardware device. Follow the how to set up Ledger Nano steps exactly as described. Plug the device into your computer using the included cable. The screen turns on and shows the Ledger logo. Press the button to begin. The device asks if you want to configure as a new device or restore an existing wallet. For first time users, choose "Configure as new device."
Connecting the Device
- Connect the Nano to your computer with the USB cable.
- Wait for the Ledger logo to appear on the screen.
- Press the right button to continue.
- Select "Configure as new device" using both buttons.
- Set a PIN code between 4 and 8 digits. Confirm the PIN.
Initializing the Device
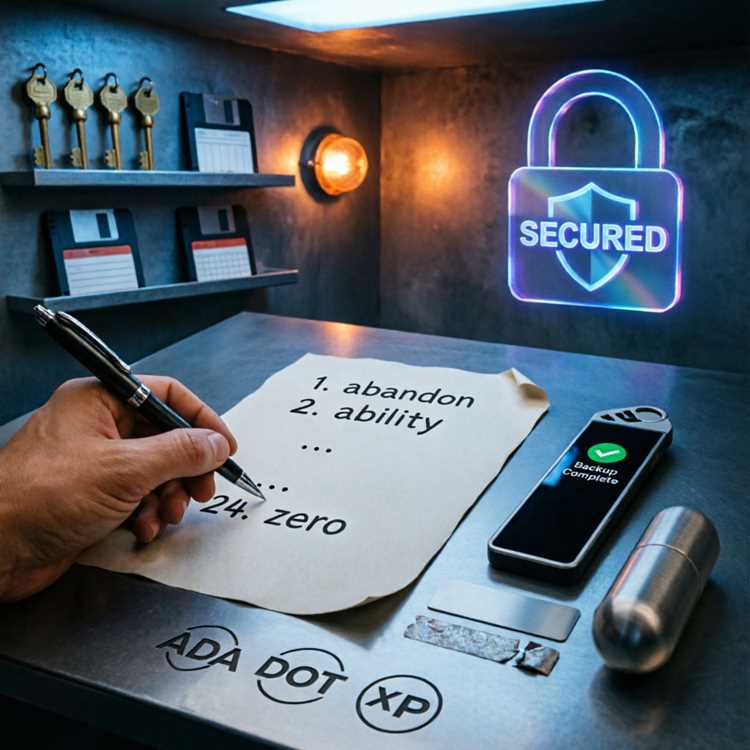
After the PIN is set, the device begins the initialize Ledger device process. It generates your unique recovery phrase on the screen. Write down all 24 words in the exact order. Never store this list digitally. Confirm the last three words on the device to verify you wrote them correctly. Once confirmed, the device is ready to install apps.
Creating and Backing Up Your Recovery Phrase
The recovery phrase is the master key to your crypto. If you lose the device, you can restore all funds using these 24 words. The Ledger recovery phrase setup is the most critical part of the entire process. Do not share it with anyone. Never enter it into any website or app. Store the written copy in a fireproof safe or a safe deposit box.
Generating the 24 Word Seed
During initialization, the device screen displays each word one by one. Write each word on the provided recovery sheet. Check that you spell every word correctly. Ledger uses the BIP39 word list, so all words are common English terms. Repeat the process twice to avoid errors.
Storing Your Recovery Phrase Safely
Keep the paper sheet in a secure location away from water and fire. Some users split the phrase into two parts and store them in different places. You can also use a metal plate to protect against fire and flood. The Ledger recovery service offers an optional subscription for encrypted seed backups, but it is not required.
Installing Cryptocurrency Apps on Your Device
Each cryptocurrency requires its own app installed on the Ledger device. Apps manage the specific blockchain protocols. Open Ledger Live and unlock your device with the PIN. Go to the "Manager" section in the app. Ledger Live will ask for permission to access your device. Accept on the device screen. Then you can browse and install apps.
Selecting Cryptocurrency Apps
- Bitcoin (BTC) app for sending and receiving Bitcoin.
- Ethereum (ETH) app for all ERC20 tokens and DeFi.
- Solana, Cardano, Polkadot, and many others available.
- Each app is small and takes about 4 to 8 KB of device storage.
Managing Storage Space
Ledger Nano S Plus has about 1.5 MB of available space. You can install around 20 to 30 apps depending on size. The Nano X has 2 MB and can hold more apps. Remove apps you do not use to free space. Your coins remain on the blockchain, not on the device. You can always reinstall an app later without losing funds.
Managing Assets with Ledger Live
After installing the apps, you can add accounts and view balances. Each blockchain network requires a separate account. Use the "Accounts" tab in Ledger Live to add new ones. You can name accounts and organize them by portfolio. Sending and receiving transactions is done through the app interface. The device confirms every transaction on its screen.
Sending and Receiving Crypto
- Open Ledger Live and select the account you want to use.
- Click "Send" and enter the recipient address.
- Check the address on your Ledger device screen before confirming.
- Approve the transaction by pressing the button on the Nano.
- For receiving, click "Receive" and show the address to the sender.
Checking Balances and Transaction History
All transactions appear in the account history. You can filter by date or type. The portfolio view shows total value across all assets. Prices update in real time from CoinGecko and CoinMarketCap. Use the portfolio to track gains and losses. This feature works without the device connected, but signing requires the hardware.
Understanding Ledger Wallet Comparison: Which Model Is Right for You?
Ledger offers two main hardware wallets: the Nano S Plus and the Nano X. The S Plus is the budget option with USB only. The X adds Bluetooth support and a larger battery. The Ledger wallet comparison helps you decide based on your needs and budget. Both support the same security chip and the same number of coins.
Nano X vs Nano S Plus
| Feature | Nano S Plus | Nano X |
|---|---|---|
| Connectivity | USB C | USB C + Bluetooth |
| Storage | 1.5 MB | 2 MB |
| Battery | No battery | Built in rechargeable |
| Price | $79 | $149 |
| Mobile use | No | Yes (via Bluetooth) |
Price and Feature Differences
The Nano S Plus is ideal for desktop only users on a budget. It holds plenty of apps and offers the same security. The Nano X suits users who want to manage crypto on the go. Its Bluetooth function pairs with the mobile app. See the Ledger Nano X features for a complete breakdown. For a broader view, read the full Ledger wallet comparison between all models.
Advanced Features: Bluetooth Mobile Setup and Staking
For the Nano X, you can use Bluetooth to connect with the mobile app. This allows signing transactions without a computer. Additionally, some proof of stake coins let you earn rewards directly from the device. The Ledger Nano X Bluetooth mobile setup takes just a few minutes. And you can stake Tezos Cosmos on Ledger to generate passive income.
Bluetooth Mobile Setup
Enable Bluetooth on your phone. Open the Ledger Live mobile app. Choose "Add a device" and select Nano X. The app searches for the device. Pair by confirming the code on both screens. Once paired, you can send, receive, and check balances from your phone. The device must be unlocked and nearby for each transaction.
Staking Tezos and Cosmos
Staking lets you earn rewards by delegating your coins to a validator. Open the respective app on your Ledger device. In Ledger Live, go to the "Discover" section and find staking services. Choose a validator with low fees and high uptime. Delegate your tokens directly from the device. Rewards arrive automatically. The stake Tezos Cosmos on Ledger guide covers the complete process.
Frequently Asked Questions About Ledger Wallet Setup
New users often have common concerns. Below are answers to the most frequent questions regarding setup and security.
Can I set up a Ledger without a computer? The Nano X can be initialized using the mobile app via Bluetooth. The Nano S Plus requires a computer for initial setup.
What happens if I lose my Ledger device? You can recover all funds using your 24 word recovery phrase on a new device. Keep the phrase safe and offline.
Is the recovery phrase the same for all Ledger devices? Yes. The BIP39 standard is universal. You can restore your wallet on any hardware that supports the standard.
How many cryptocurrencies does Ledger support? Over 5000 coins and tokens are supported through third party apps. The device can hold up to 30 apps simultaneously depending on storage.
Can I use Ledger for DeFi and NFTs? Yes. Connect your device to MetaMask or other wallets. Sign transactions on decentralized applications. Ensure you verify each action on the device screen.